No products in the cart.
Guided Tours Pro Documentation
1.INTRODUCTION
Author : Blitz Guided Tours Pro
Author URI : https://www.waas-pro.com
Tags : Guided Tours Pro, WordPress, MultiSite, SingleSite
Requires at least : 4.5
Tested up to : 4.9.8
Requires PHP : 5.5
This Plugin can be used for:
1. Network Website 2. Single Website
-> Guided Tours Pro allows you to create custom tours that train new users how to manage their websites.
2.ADMIN PANEL
● Installation
● Activate Plugin
● License Activation
2.1.INSTALLATION & ACTIVE PLUGIN
After successful login to Network Admin
1. Upload or extract the documentation folder to your site’s wp-content/plugins/directory. You can also use the Add new option found in the Plugins menu in Network Admin.
2. Enable/Activate the plugin from the Plugins menu in Network Admin.

2.2.LICENSE ACTIVATION
1. After activation, a new page of plugin configurations is added under Settings tab. ( see screenshot ) path: Go to Network admin -> Settings ->Guided Tours Pro Activation
Screenshot:->

2. To activate license ( Go to Network admin -> Settings -> Guided Tours Pro Activation ) add License key & click Activate button. ( see screenshot )
Screenshot:->

MAIN SITE ADMIN PANEL:
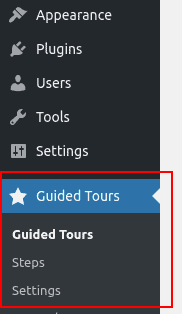
After license is activated, go back to the main website dashboard admin you’ll see ‘Guided Tours’ in the sidebar menu ( see screenshot ).
Screenshot:->
3.DEVELOPER END
3.1.ADD NEW TOUR
-> First go Back to main dashboard admin not network admin and then see in left sidebar option Guided Tours.
-> The Developer here can add new tour Path ( Go to Guided Tours -> Add New ) (see screenshot)

-> Here you can add new tour settings (see screenshot).
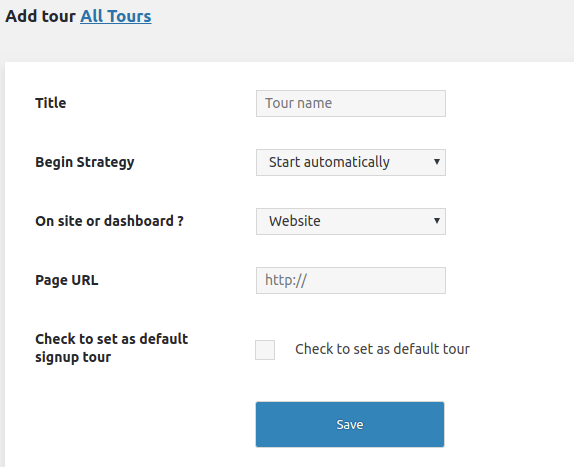
Add New Options Explanations Below :-
Title :-> From here developer can add title for new tour (see screenshot above)
Begin Strategy :-> From here developer can choose two options for beginning tour i.e
- Start automatically (It will start tour automatically)
- Click of an element (It wil start tour on click of an element)

On site or dashboard :-> From here developer can choose two options for displaying tour i.e
- Website ( Display tour for website)
- Dashboard (Display tour for dashboard)

Page URL :-> By default it is disabled it will be enabled only on choosing “Dashboard” option in “On site or dashboard”, from here developer can set admin page URL.
Check to default signup tour :-> From here developer can set this tour as default tour.
3.2.ADD STEPS
Options Available After Adding New Tour (Screenshot also attached)
- View Steps (From here developer can view & create new steps on clicking)
- Start Tour (From here developer can start the tour)
- Turn off, Delete, Duplicate (From this options developer can turn off the tour, delete it & duplicate the tour)

Instructions For Adding Steps Into Tours
-> After tour is created developer can choose steps option under “Guided Tours” in main admin. (see screenshot)
Main Admin -> Guided Tours -> Steps -> Add New
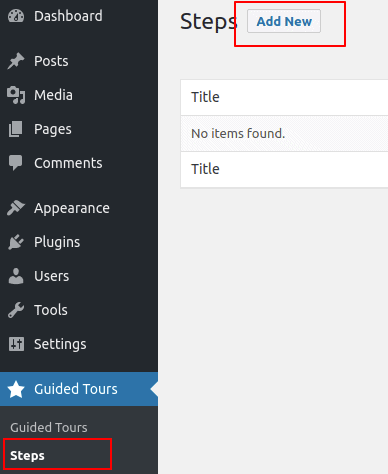
-> Click on Add New then following options will available (see screenshot).
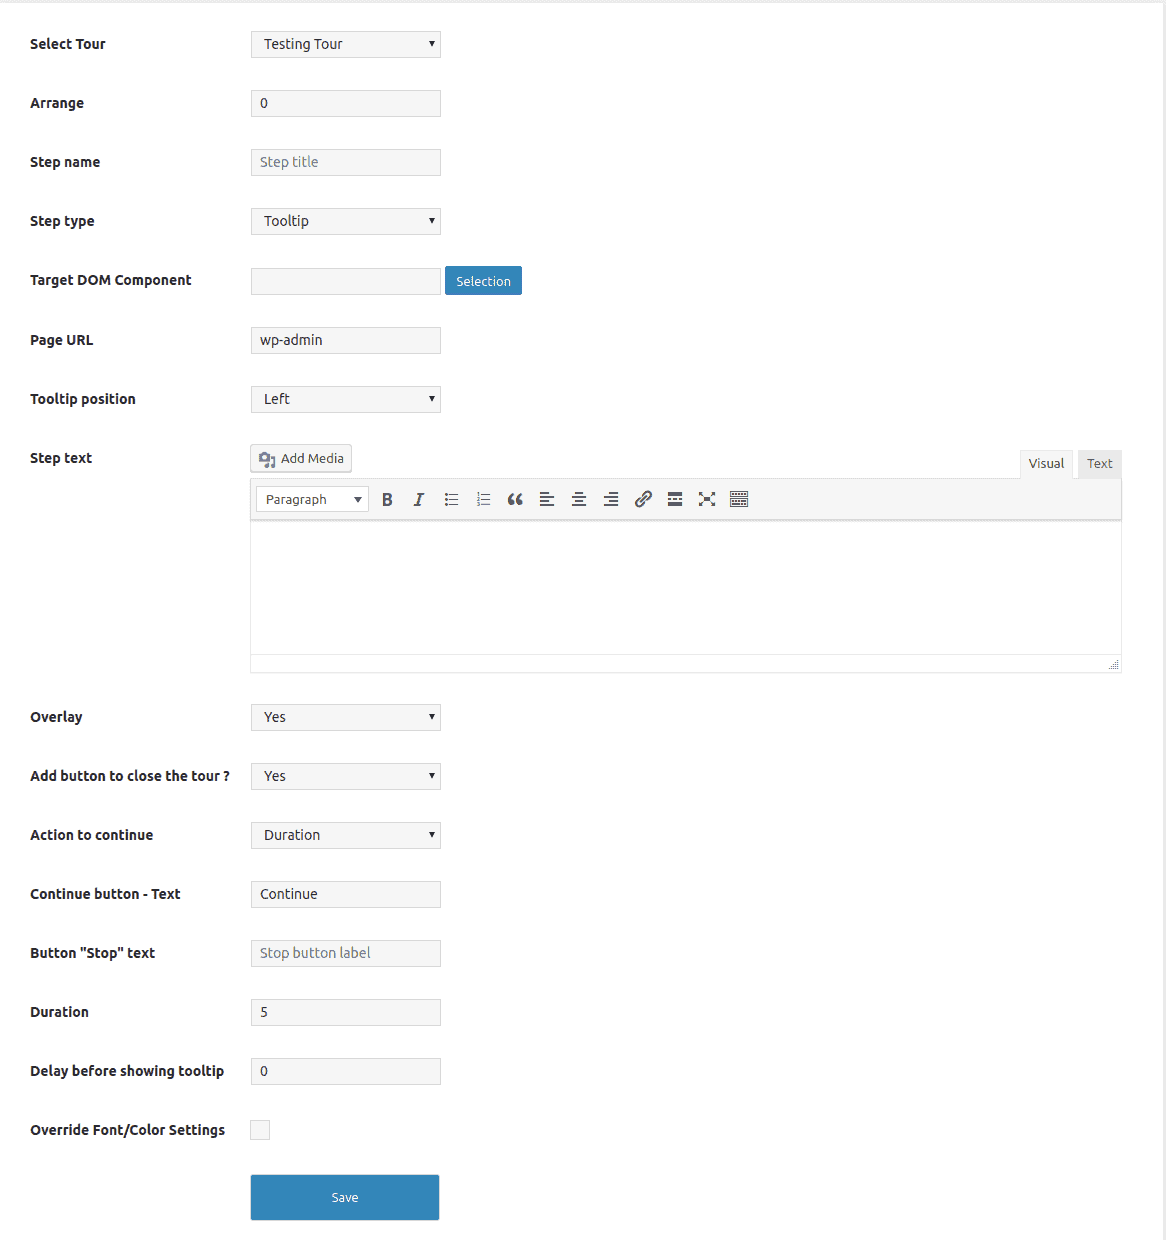
Steps Options Explanations Below :-
Select Tour -> This option helps to choose “Tours” from the list of tours created.
Arrange -> This option helps to arrange the order of steps created for this tour.
Step name -> Add step title or name from here.
Step type :-> Three options are available here in order to set the type of step you are creating i.e
- Tooltip
- Dialog
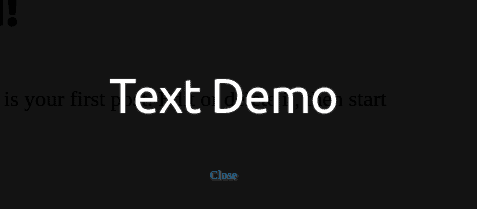
- Text
Target DOM Component :-> From here you can select a static component from admin.
Page URL :-> From here page url can be added for step.
Tooltip position :-> From here you can choose the position of tooltip if step type tooltip is chosen above, four options are available here i.e
- Top
- Bottom
- Left
- Right
Step text :-> From here you can add any content or media into the step.
Add button to close the tour :-> If you want to close the tour by button then select “YES” otherwise “NO”.
Action to continue :-> From here you can select one option in order to set the action for continuing the tour i.e
- Click
- Duration
Duration :-> From here you can set time duration for the continue action if “Duration” is selected under “Action to continue”.
Continue button – Text :-> From here you can set the text for continue button.
Button “Stop” text :-> From here you can set the text for stop button.
Delay before showing tooltip :-> From here you can set the delay time for the tooltip display.
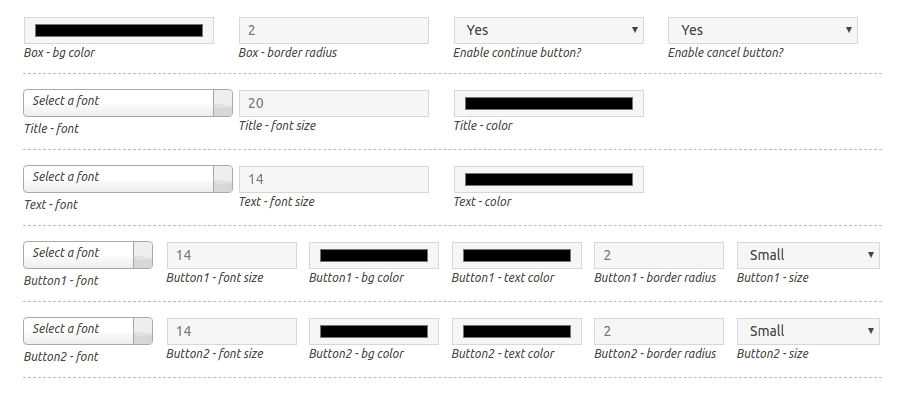
Override Font/Color Settings :-> From here you can override the global settings done for Font & Colour for any step type i.e Tooltip, Dialog Box or Text (see screenshot)
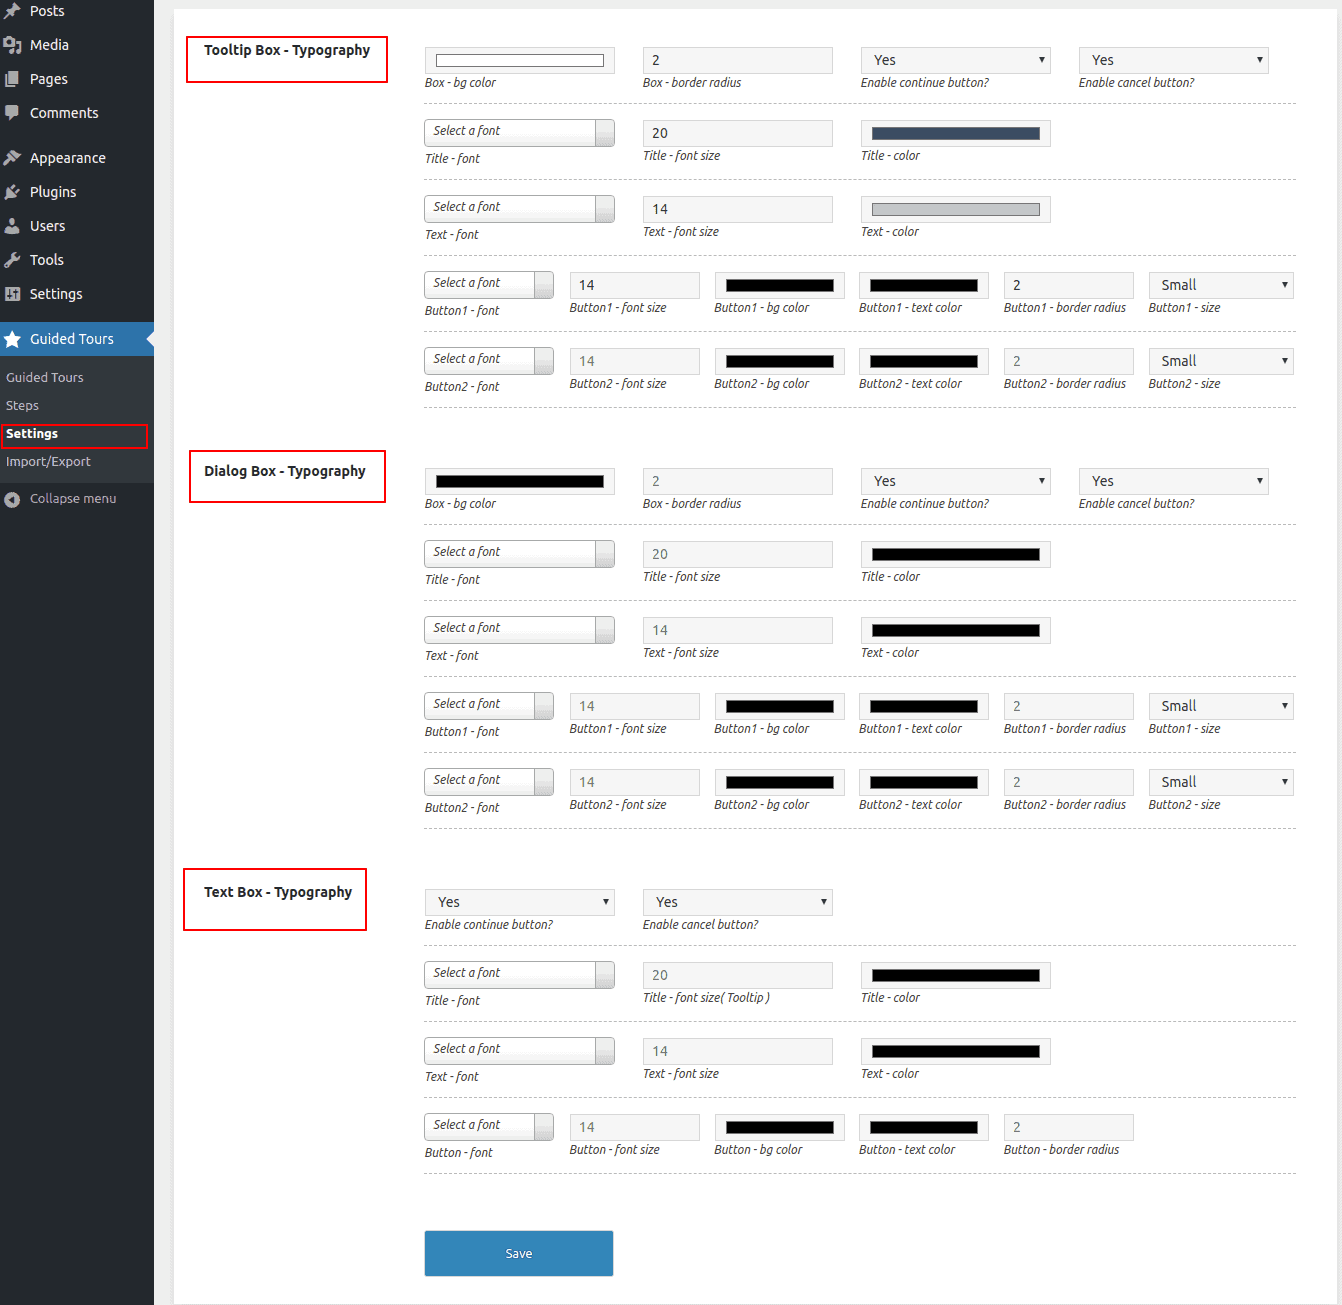
3.3.SETTINGS
Global Typography Settings For Tooltip Box, Dialog Box & Text Box (screenshot attached)
3.4.IMPORT/EXPORT
Import/Export The Tours (see screenshot)
From here developer can easily import & export the tours in JSON fie format

4.TOUR DEMO
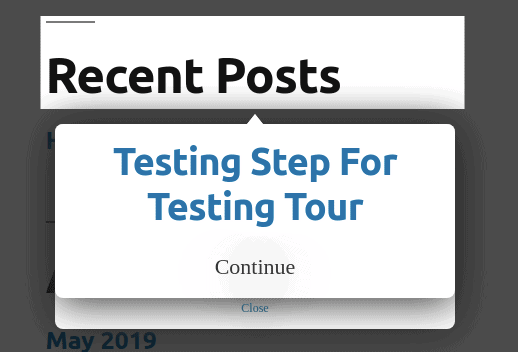
4.1.TOOLTIP
Admin Demo

Frontend Demo
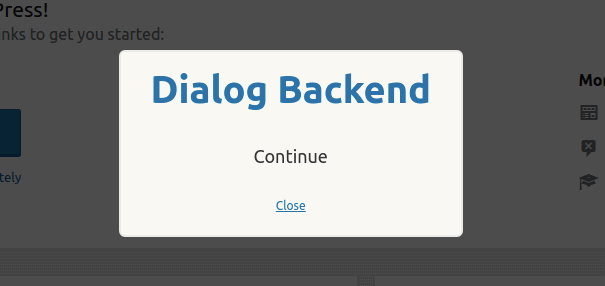
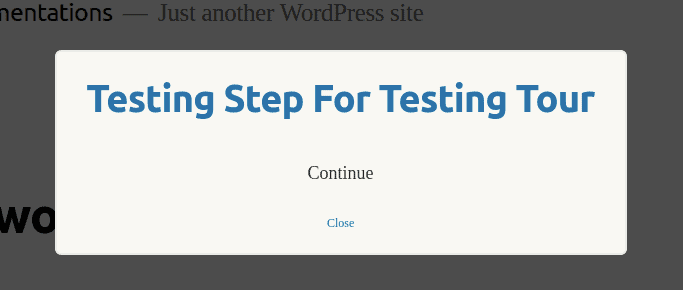
4.2.DIALOG
Admin Demo
Frontend Demo
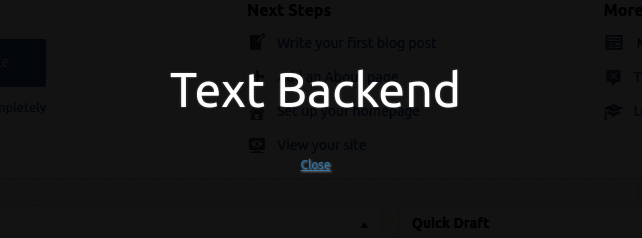
4.3.TEXT
Admin Demo
Frontend Demo
