No products in the cart.
Content Editor Pro Documentation
1.INTRODUCTION
Author : Blitz Content Editor Pro
Author URI : https://www.waas-pro.com
Tags : Content Editor Pro, WordPress, MultiSite
Requires at least : 4.5
Tested up to : 4.9.8
Requires PHP : 5.5
This Plugin has two roles :
1. Developer 2. Site Owner
-> Developer will create Layout(s) and assign it to either any template or a template category.
-> Site owner can see the layout that the developer made for their template or their template category. Site owner can also add default content.
-> Developer can then use those short-codes to add them in the template where the data will be rendered.
-> Site owner can update the data and it will be showed on their websites.
2.ADMIN PANEL
● Installation
● Activate Plugin
● License Activation
2.1.INSTALLATION & ACTIVATE PLUGIN
After successful login to Network Admin
1. Upload or extract the documentation folder to your site’s wp-content/plugins/directory. You can also use the Add new option found in the Plugins menu in Network Admin.
2. Enable/Activate the plugin from the Plugins menu in Network Admin.
2.2.LICENSE ACTIVATION
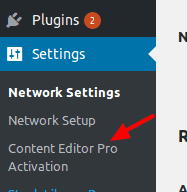
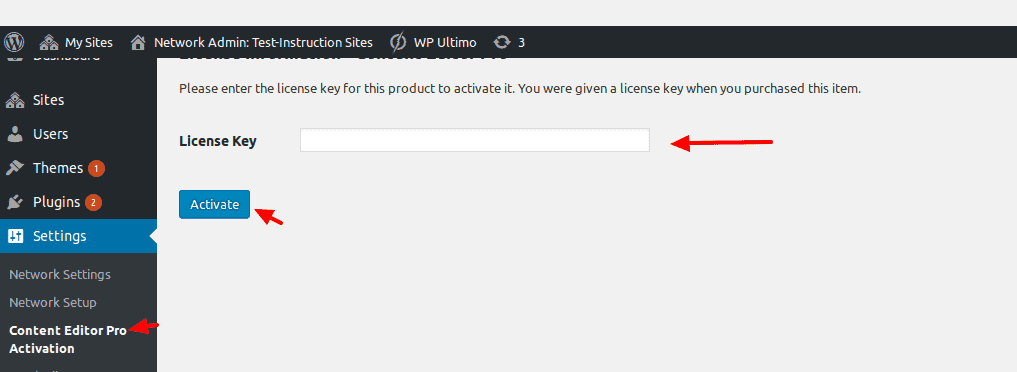
1. After activation, a new page of plugin configurations is added under Settings tab. ( see screenshot ) path: Go to Network admin -> Setting ->Content Editor Pro Activaton
Screenshot:->
2. To activate license ( Go to Network admin -> Settings -> Content Editor Pro Activation ) add License key &click Activate button. ( see screesnshot )
Screenshot:->
MAIN SITE ADMIN PANEL:
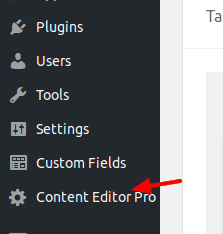
After license is activated, go back to the main dashboard admin you’ll see ‘Content Editor’ in the sidebar menu ( see screenshot ).
Screenshot:->
3.DEVELOPER END
3.1.ADD LAYOUT
-> First go Back to main dashboard admin not network admin and then see in left sidebar option Content Editor.
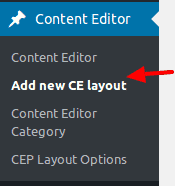
-> The Developer here add new layout Path ( Go to Content Editor -> Add new CE Layout) (see screenshot)
Screenshot:
-> Here you can add new post or new layout (see screenshot).
Screenshot:
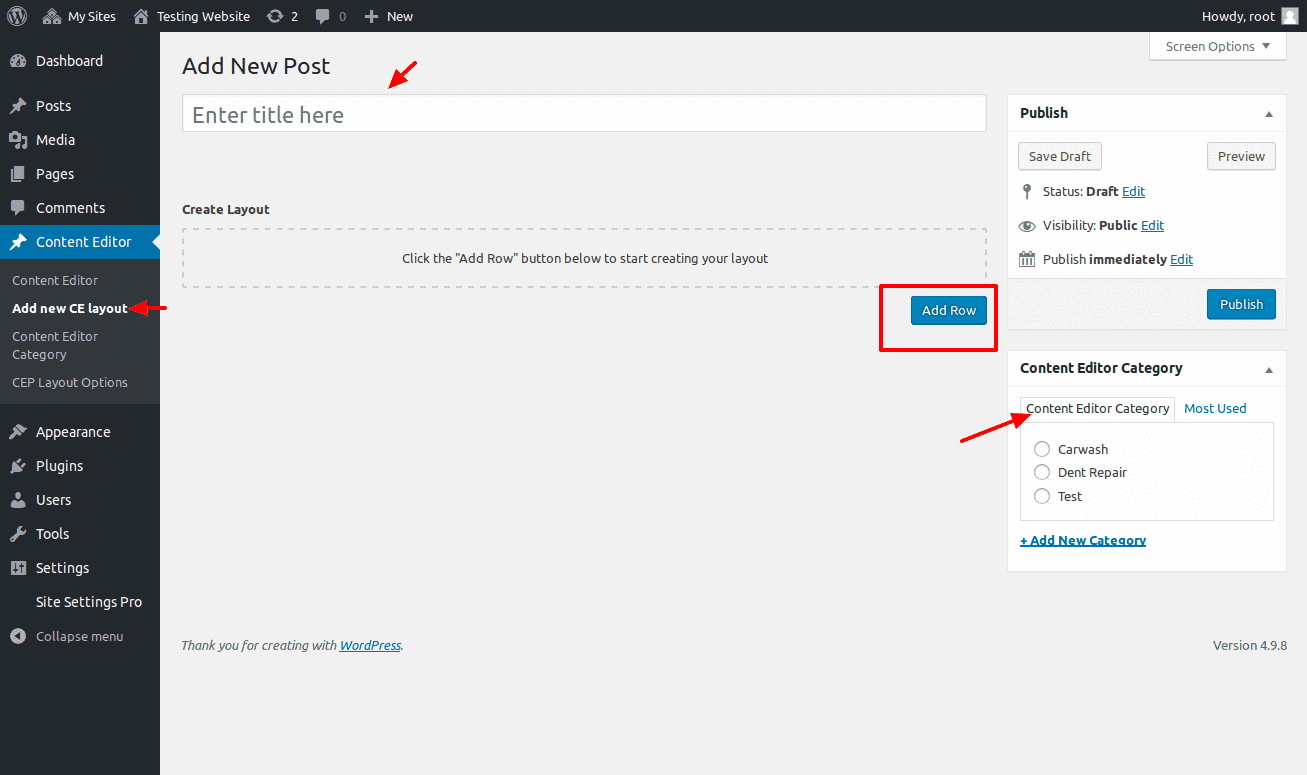
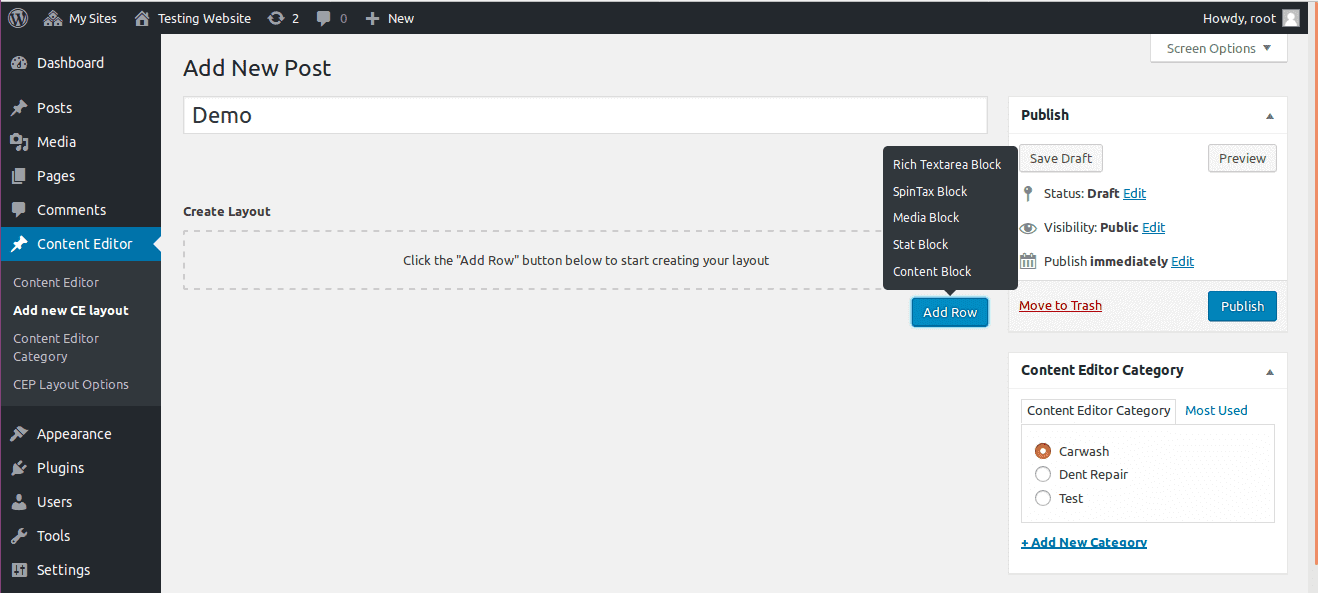
ADD ROW :-> When you click on Add Row button then popup will display five options. Select the option according to your requirements. (see in screenshot)
Screenshot:
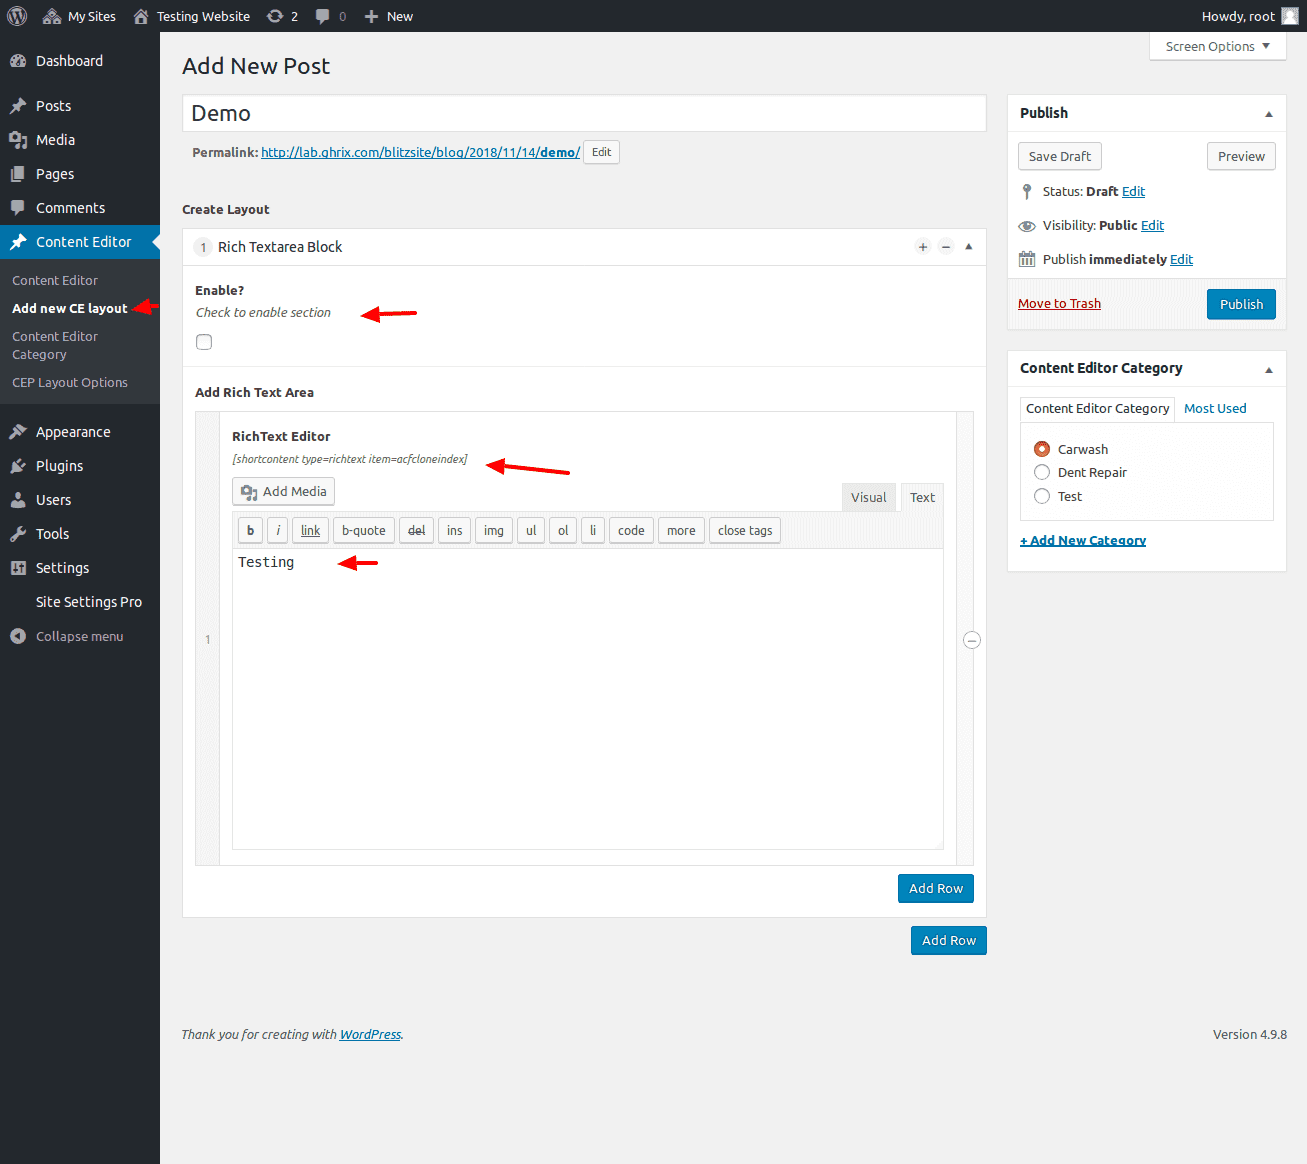
- Rich Text Area Block: This is setting for add text, media and provide the facility enable the section.
Screenshot:
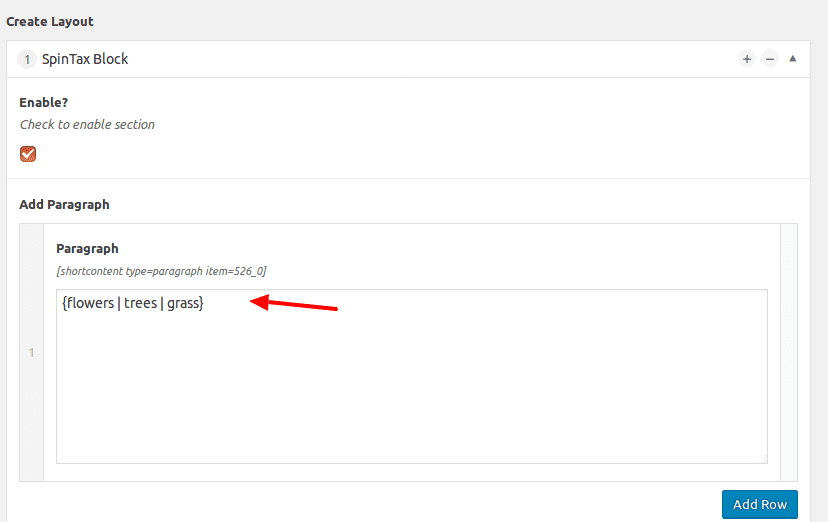
- SpinText Block: User can add spinning articles to their sites using this block. The spin text can be added as shown in screenshot below e.g. the text is: “The garden has {flowers | trees | grass} “. So, whenever this particular block shortcode will be used the curly braces text will appear as random text on every refresh.
Screensheet:->
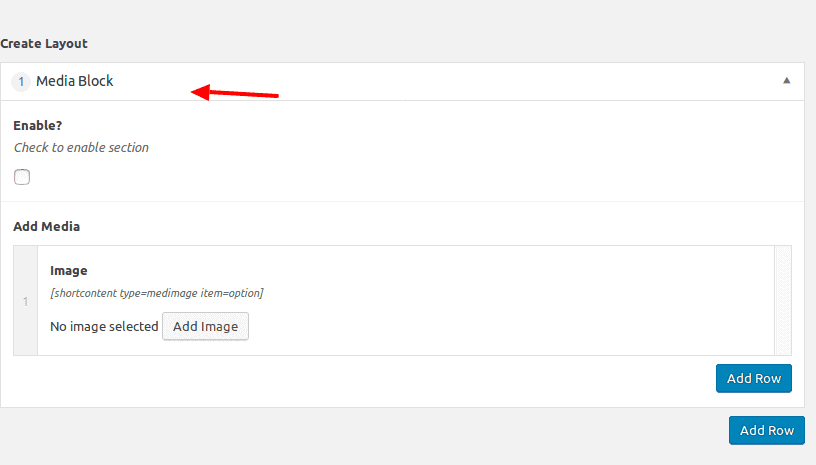
- Media Block: This setting is used for media or added images.
Screenshot:
- Stat Block : A block with Title and Number, multiple groups of stats can be added, and can be used on the site using shortcodes.
Screenshot:
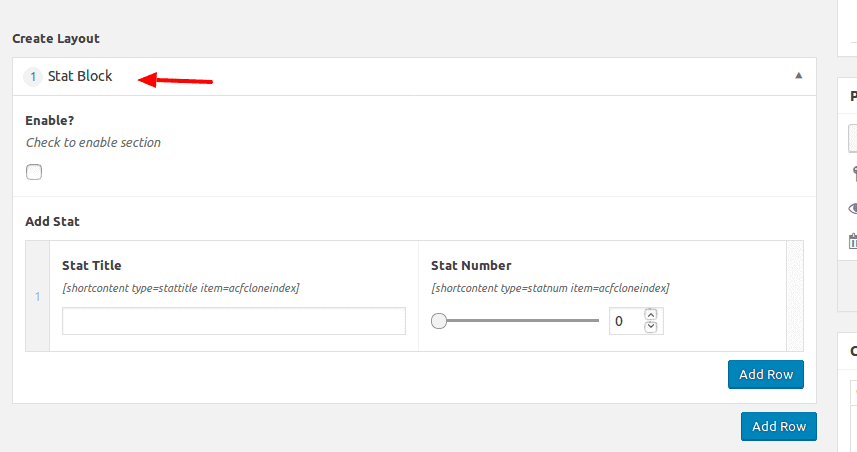
- Content Block : This box contains a title, image, icon and a text area block, its suitable for defining services or other things.Each element will get its unique shortcode.
Screenshot: 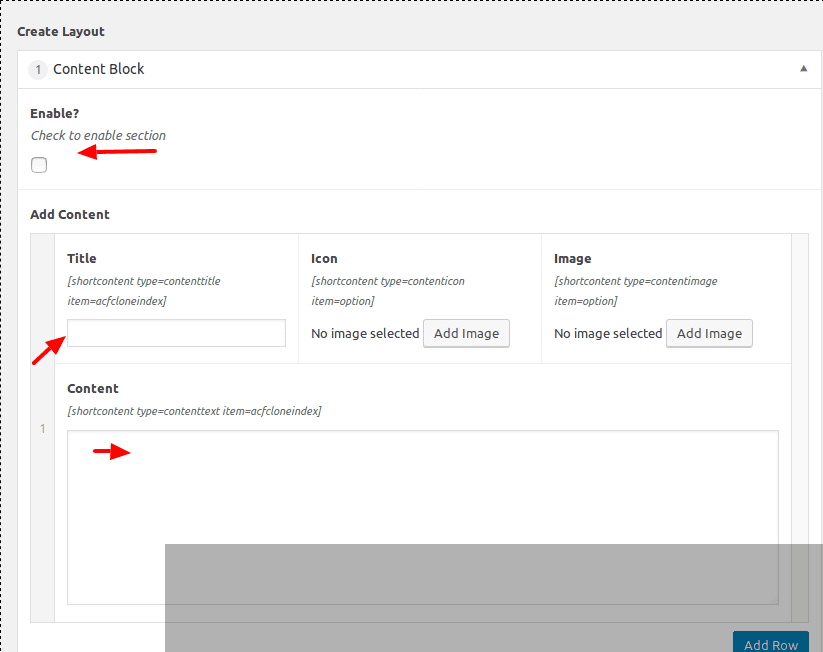
3.2.ADD LAYOUT CATEGORIES
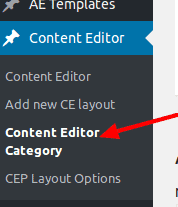
Main Site Admin can Create categories (path: Go to Content Editor -> Content Editor Category ) (see in screenshot)
Screenshot:
Screenshot:->
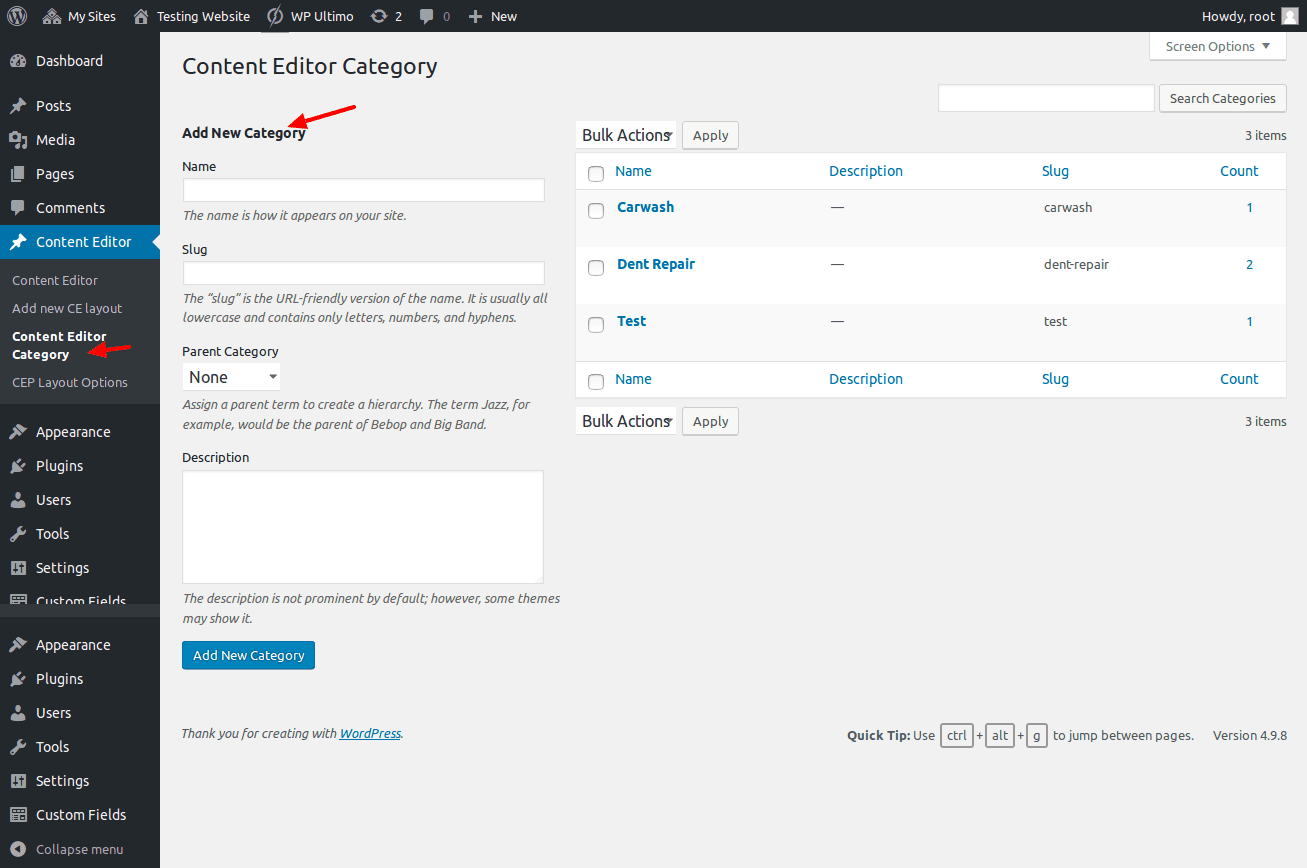
- To add New category add information as follows e.g added category ‘carwash1’ as a sub category of.
Screenshot:->
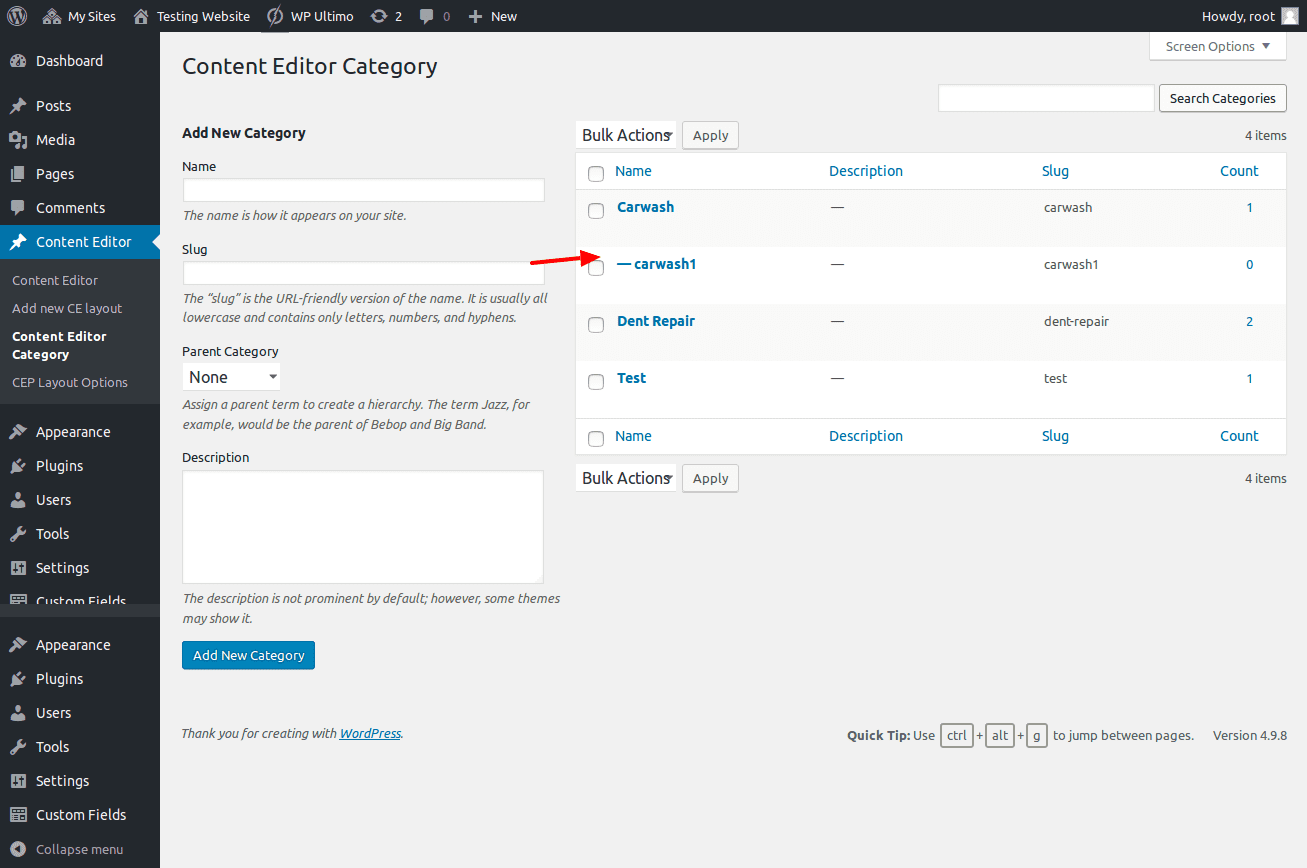
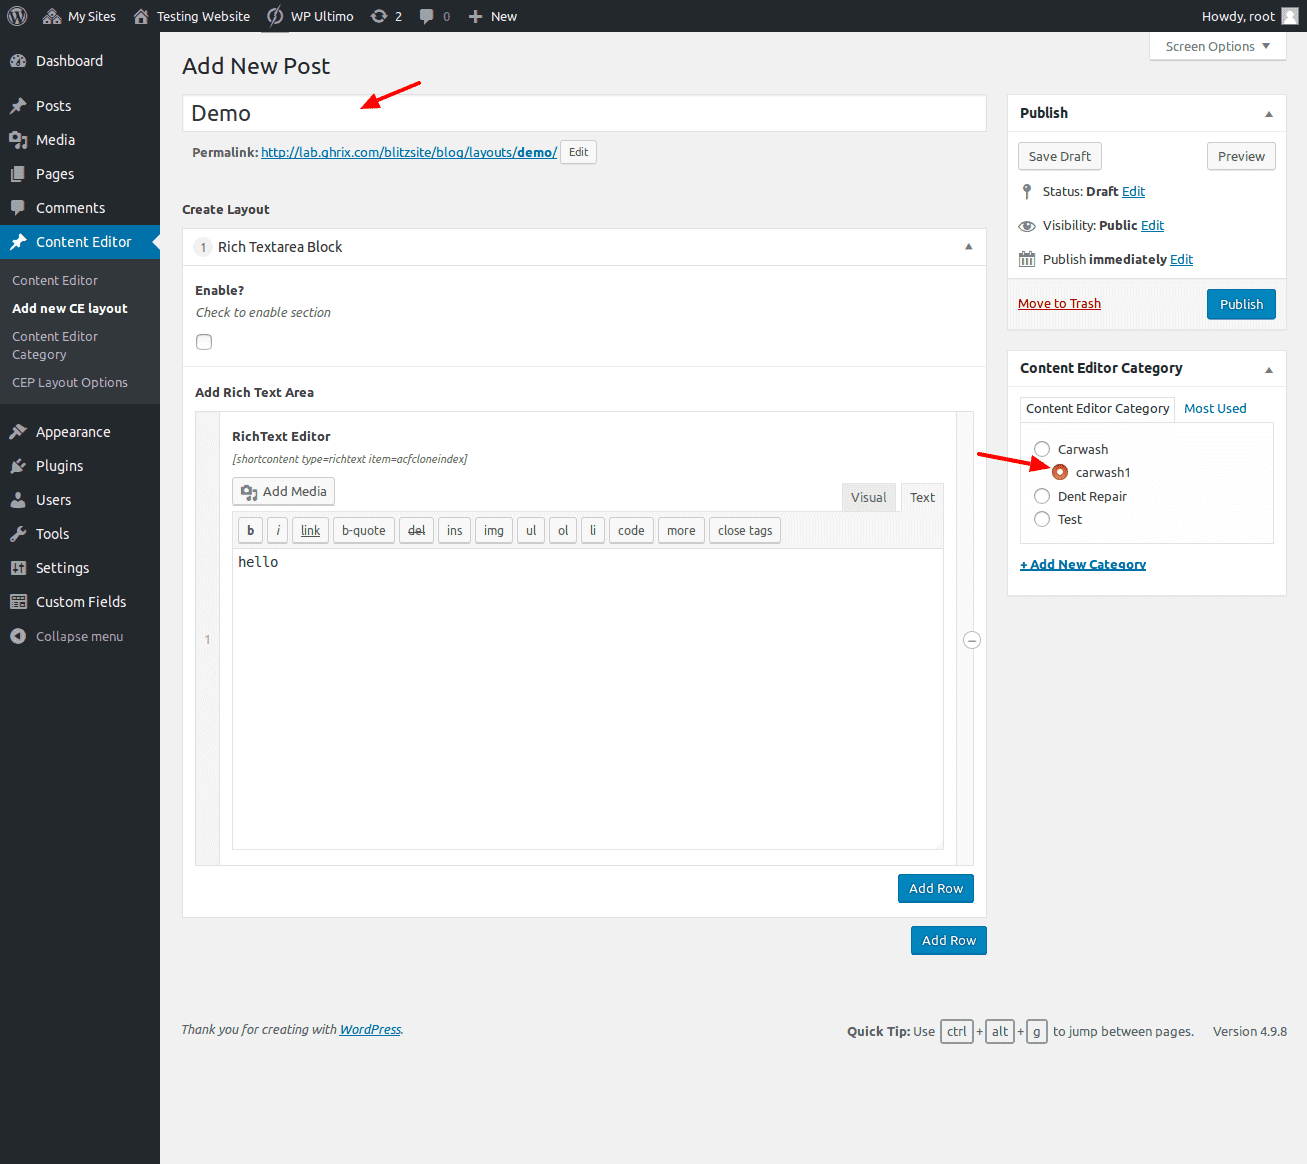
- Now this category will be visible in New Layout or New Post categories where MAIN SITE ADMIN can assign category to particular post.
- MAIN SITE ADMIN can delete/update the categories too on this page.
3.3.ASSIGN CATEGORY TO LAYOUT
- Here you can assign category to Layout or Post . (see screenshot)
Screenshot:
3.4.ASSIGN SITE TO LAYOUT
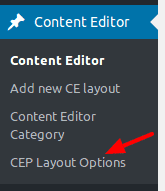
- Here developer can assign the Layout (path: Go to Content Editor -> CEP LAYOUT OPTION) (see screenshot).
Screenshot:
- After Click on CEP layout option this page show in :
Screenshot:
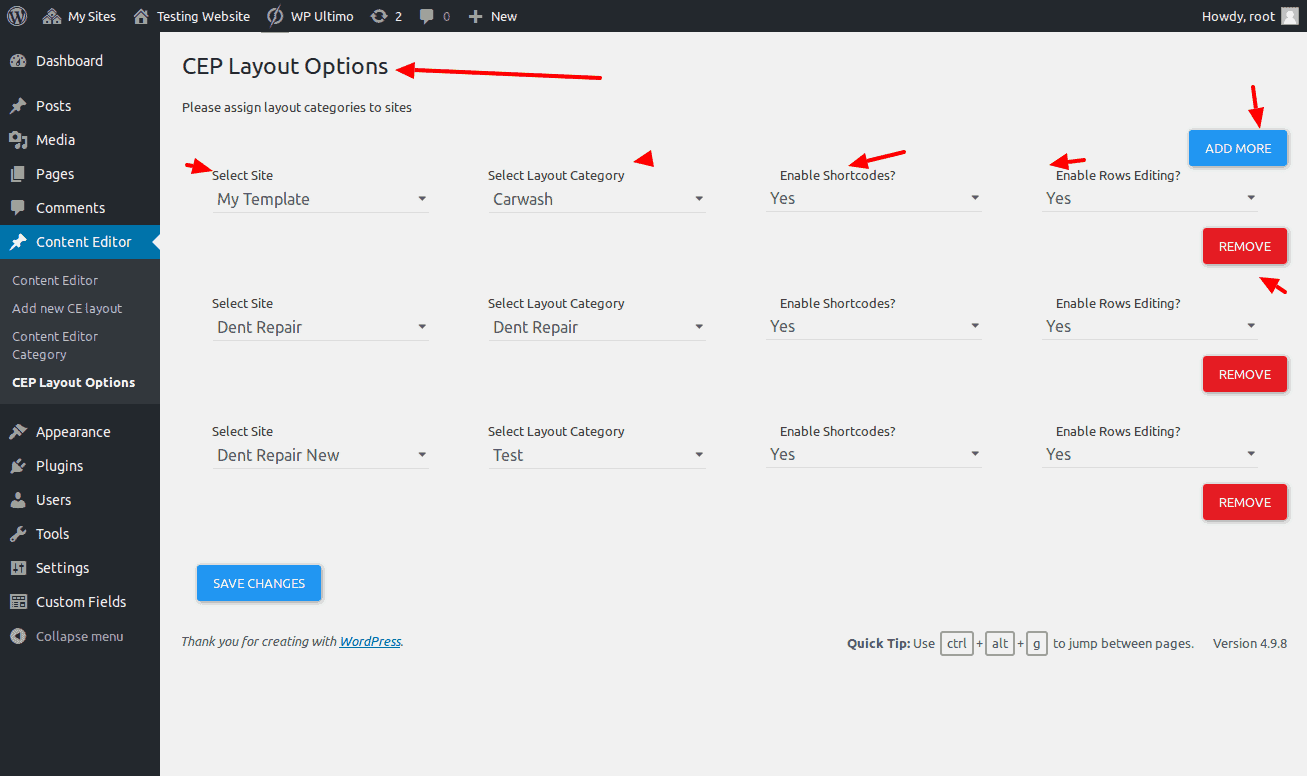
-> Here developer can select the website , category , Enable shortcode, Row Editing .
4.SITE OWNER
- When site owner visits the dashboard & plugin is activated an options page is registred which is only visible to site owners.
Screenshot:
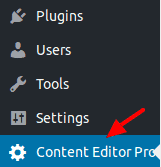
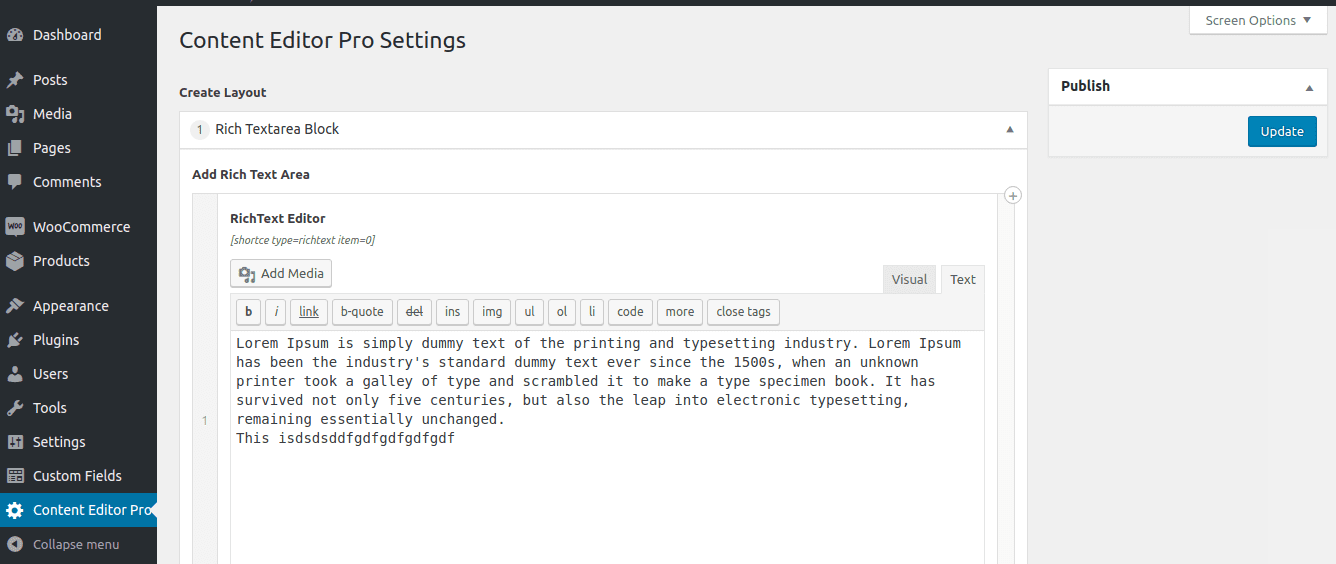
- Here, the assigned layout from developer to site will be visible.
Screenshot:
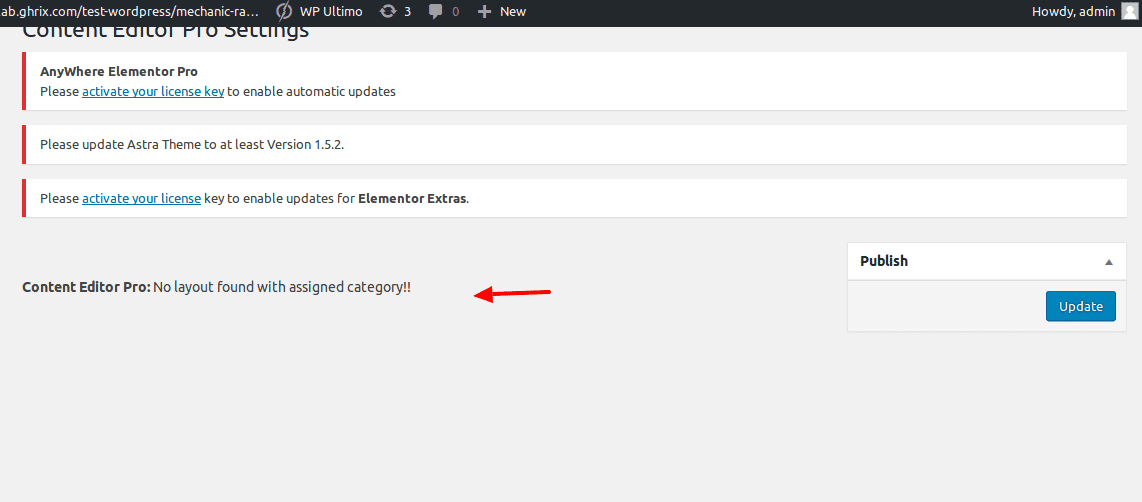
- Here ,If the Developer unassigned the layout then page display this error message.
Screenshot:
Site owner has following capabilities:
1.) Add shortcodes to their site (only if enabled by Developer to their site)
Screenshot:
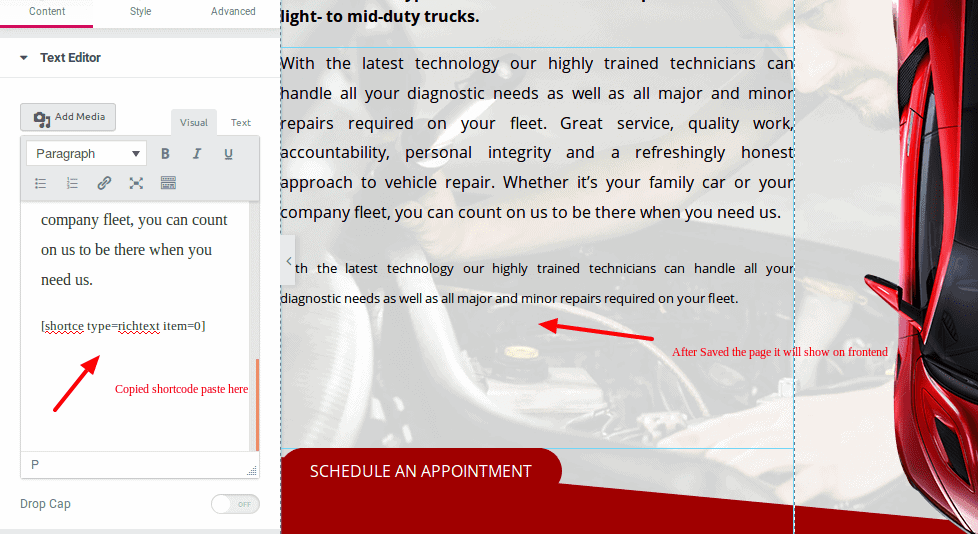
2.) Add rows to layout (only if enabled by Developer to their site)
Screenshot:


