No products in the cart.
WP Ultimo: ThriveCart Integration Documentation
1.WP ULTIMO THRIVE CART INTEGRATION
Author : Blitz WP Ultimo ThriveCart Integration
Author URI : https://www.waas-pro.com
Tags : WP Ultimo, ThriveCart, WordPress, MultiSite
Requires at least : 4.5
Tested up to : 4.9.8
Requires PHP : 5.5
License : GPL2
Integrate your WP Ultimo network to your ThriveCart . You can link all your plans to ThriveCart and automatically add and track sales and manage your affiliate sales all within your ThriveCart account.
NOTE :-> Please setup the Network Admin for multiple site & WP Ultimo(plugin). If already done please follow the following setps.
2.ADMIN PANEL
● Installation
● Activate Plugin
● License Activation
● Configuration
2.1.INSTALLATION & ACTIVATE PLUGIN
After successful login to Network Admin
1. Upload or extract the documentation folder to your site’s wp-content/plugins/directory. You can also use the Add new option found in the Plugins menu in Network Admin.
2. Enable/Activate the plugin from the Plugins menu in Network Admin.
2.2.LICENSE ACTIVATION
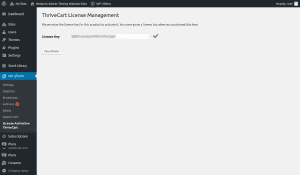
1. After activation, a new page of plugin configurations is added under Settings tab. ( see screenshot ) path: Go to Network admin -> Plugins->WP-Ultimo ->License Activation Thrive Cart
Screenshot:->

2. To activate license ( path: Go to Network admin ->Plugins-> WP Ultimo-> License Tab ) add License key & click Activate or save.
Screenshot:->
2.3.CONFIGURATION
1. To enable features ( path: Go to Network Admin ->WP Ultimo -> Settings-> Payment Gateways) check the features need to enable & click SAVE
CHANGES.
● Active Gateway
● Buttons
2.4.ACTIVE GATEWAY
● Under Active Gateway Tab, Select Thrive Cart, It will show .Please see in Screenshot.

2.5.BUTTONS
BUTTON LABEL
● Please Enter Button Label in Button Label Field
Screenshot:->

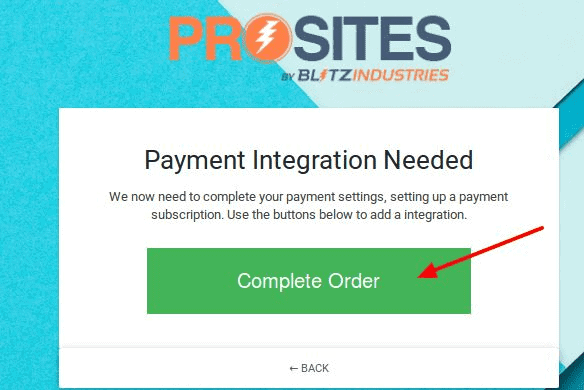
For Example: If we have enter the label here then it will reflected on frontend.
3.OTHER BUTTON SETTING
Customize ThriveCart Button from other Button Settings Tab.
Screenshot:->
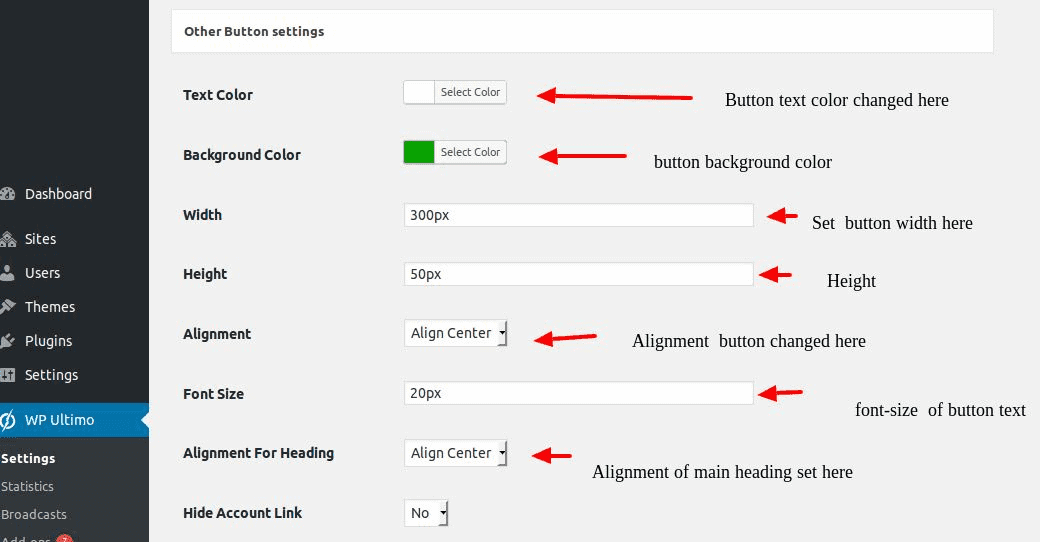
● Text Color : This is button’s text color.
● Background Color : This setting is for background color of button.
● Width : This is setting button width.
● Height : Admin setting the button height.
● Alignment : This is the alignment filed here we can align the button Left, Right, Center etc.
● Font-Size : This setting is used for change the font-size of button.
● Alignment For Heading: We can change the alignment of heading text like (Payment Integration Needed)
Screenshot:

● Hide Account Link : This is setting for hide the account link . If you want to show the link on frontend then select the NO (option) otherwise Select YES then the link not show on frontend.
Screenshot:->

Frontend Screenshot:->
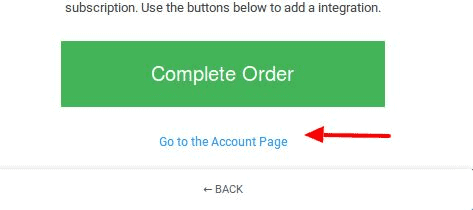
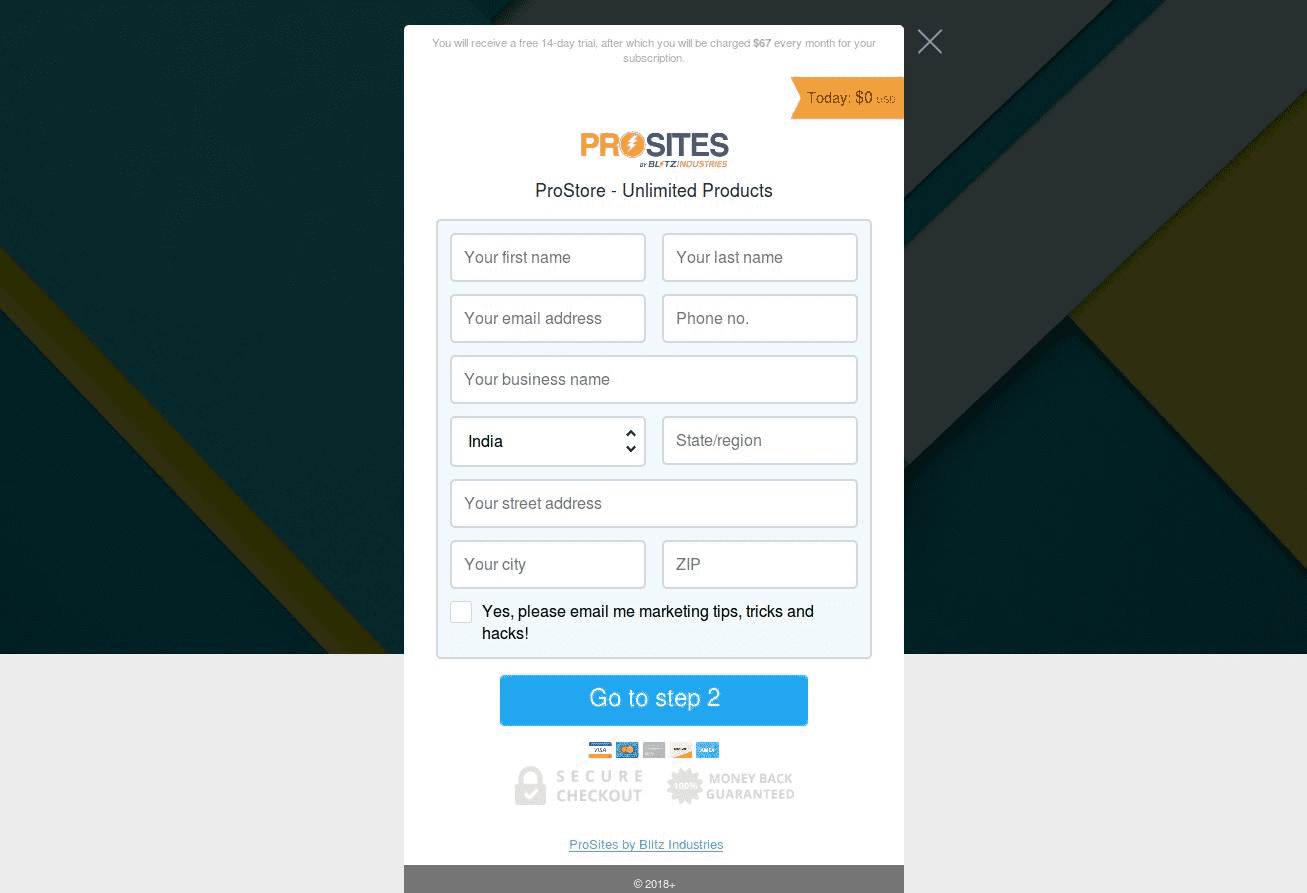
After click on Complete Order button this form will appear.
Screenshot:->
4.ACCOUNT SETTING
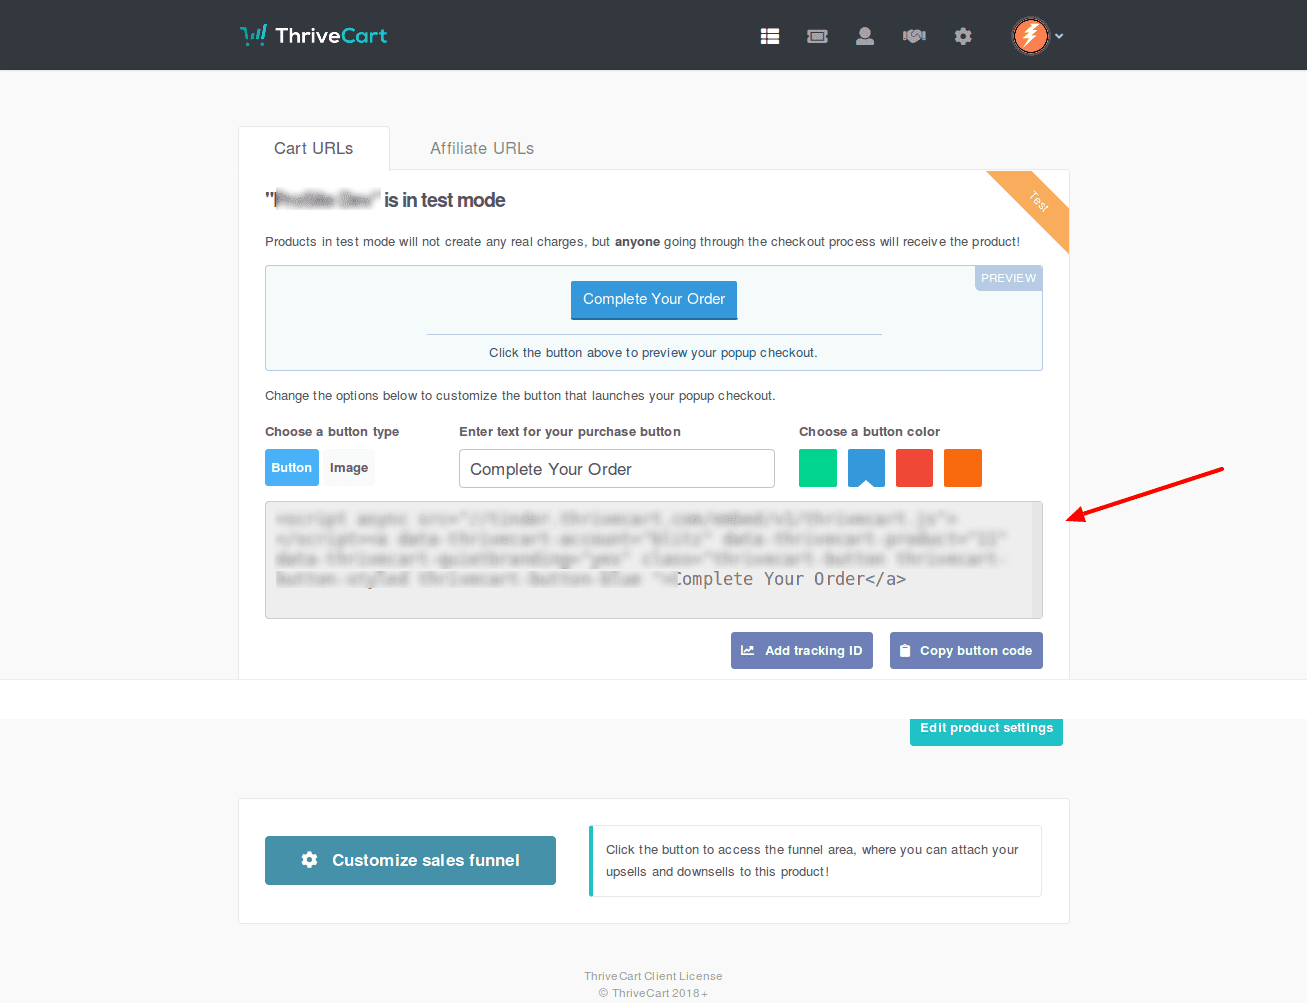
● Under Account Settings, enter the Embed Script you get from ThriveCart,and Click Populate Values,It will extract the necessary information from that script and fill the necessary fields.
Screenshot:
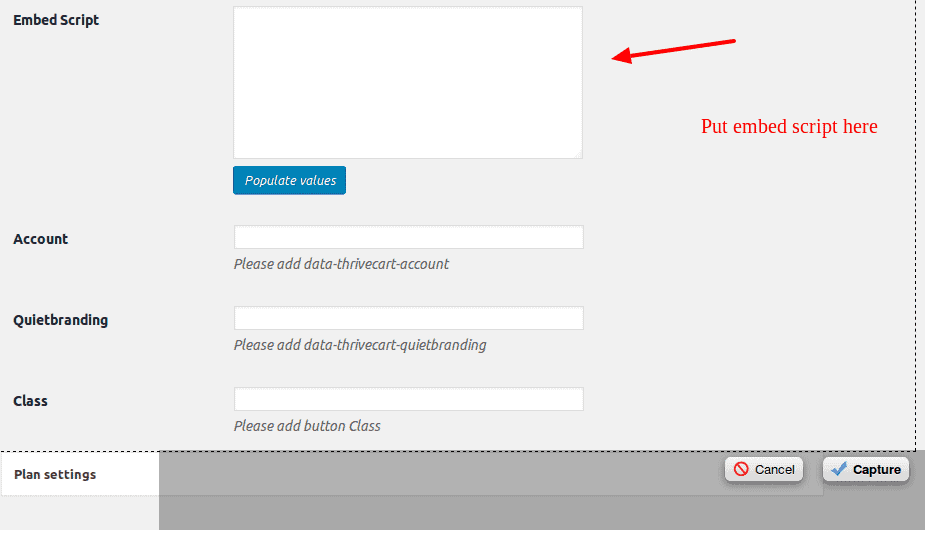
Thrivecart screenshot:
5.PLAN SETTING
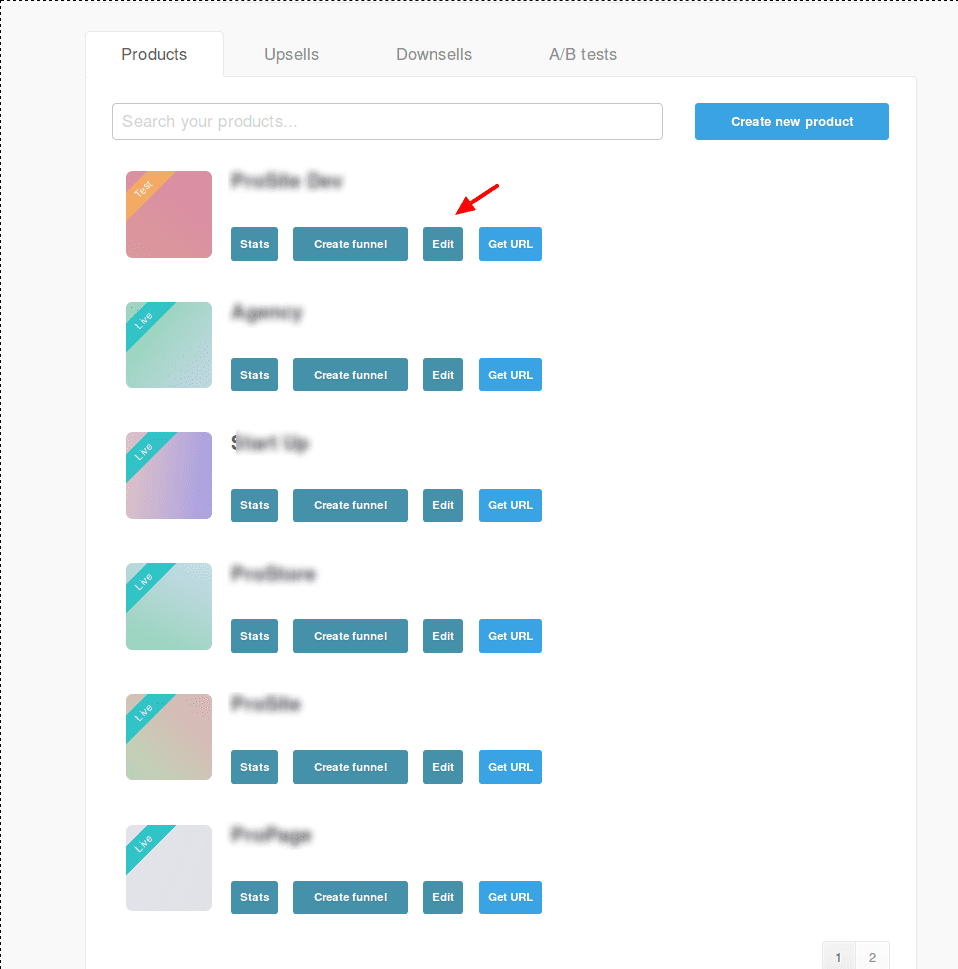
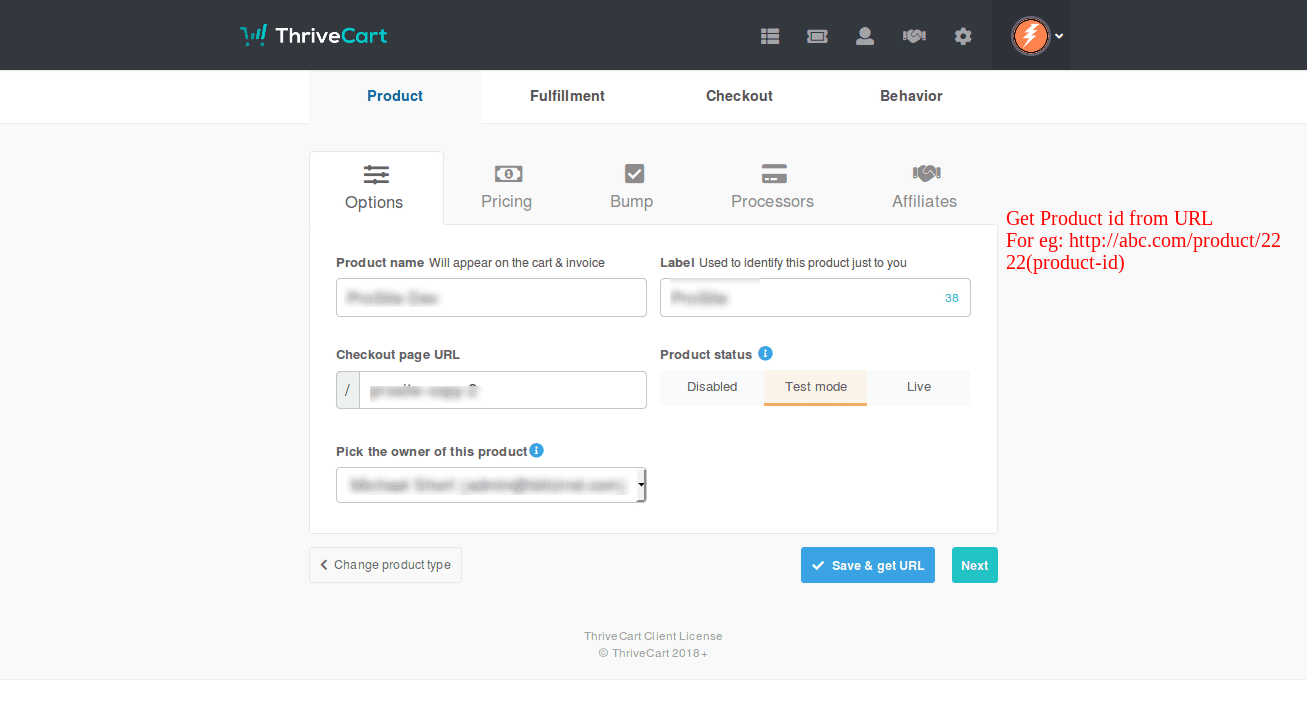
● Under Plan Settings, Map the WP Ultimo Plans with ThriveCart Product IDs.
Screenshot:

Thrive-Screenshot:
6.THRIVE CART GATEWAY
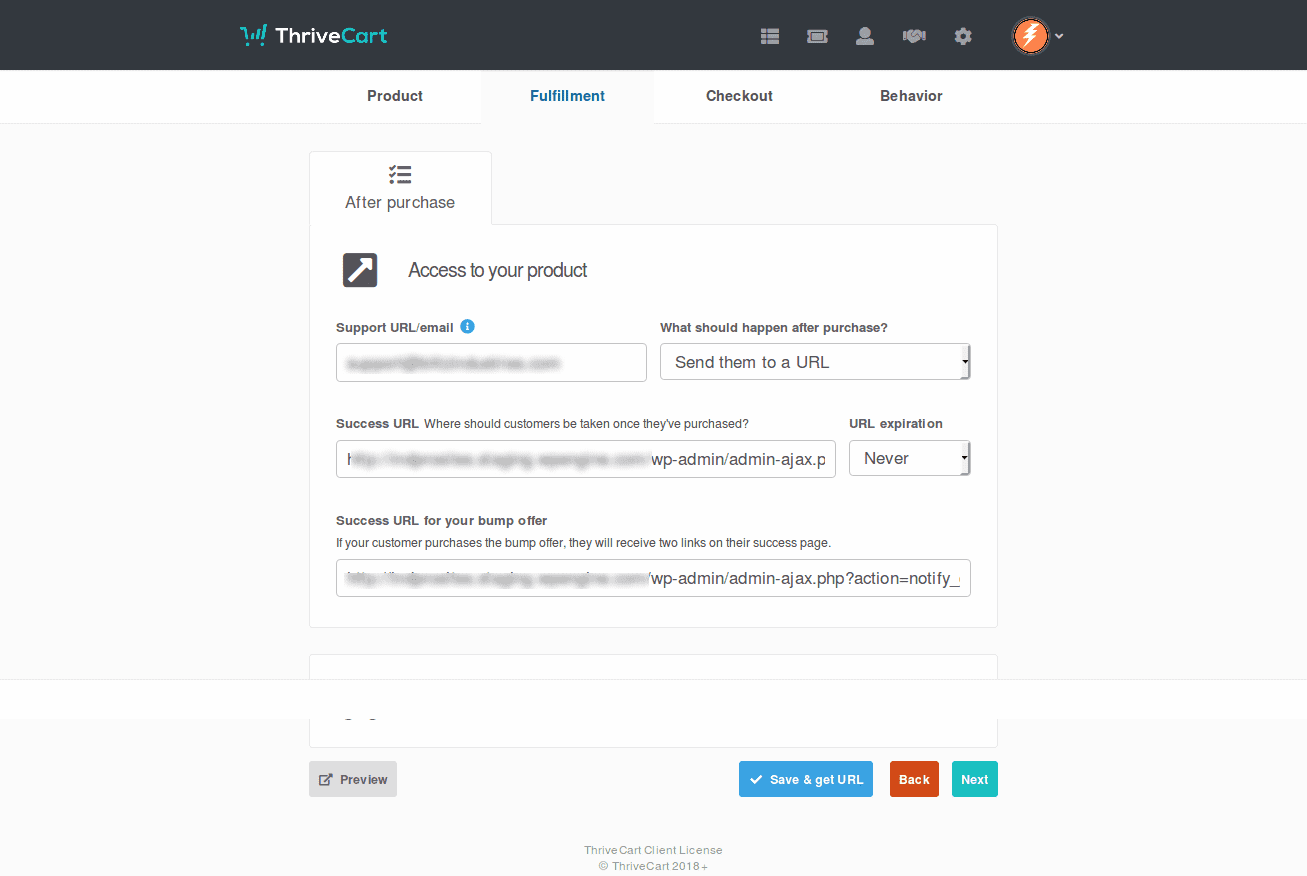
● Use the Thrive Cart Gateway to allow users to integrate the ThriveCart Payments. Please map the WP Ultimo Plans with the embed code of the ThriveCart Product you need to attach with.
Screenshots:

Thrivecart Screenshot:->
7.WEBHOOK SETTING
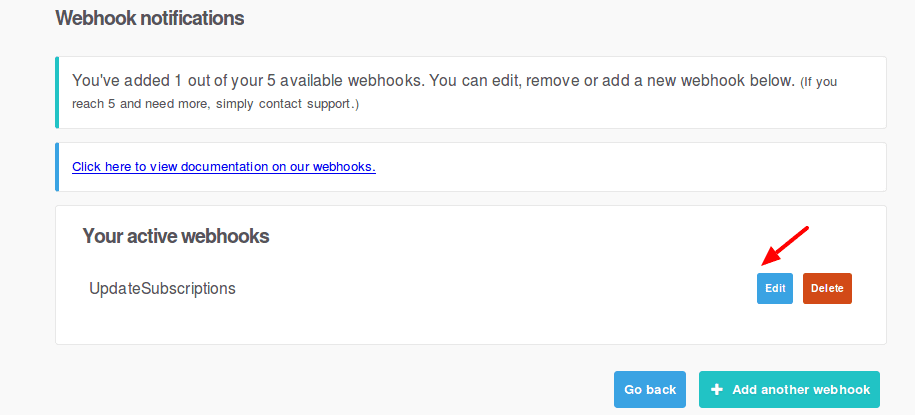
● Create a new webhook in ThriveCart from Settings-> API and Webhooks -> Webhook Notifications -> Add webhook, assign a name like “paymentrenew” and add the webhook link as /wp-admin/admin-ajax.php?action=notify_gateway_renewthrives
ubscription
Screenshot:->
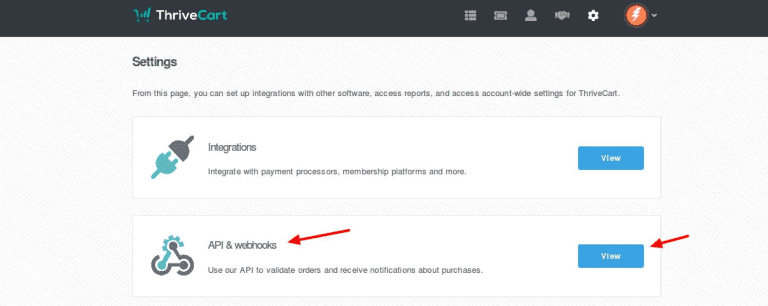
● Click on view and create a webhooks & then Go to Webhook Notifications ->Add webhook (see screenshot)
